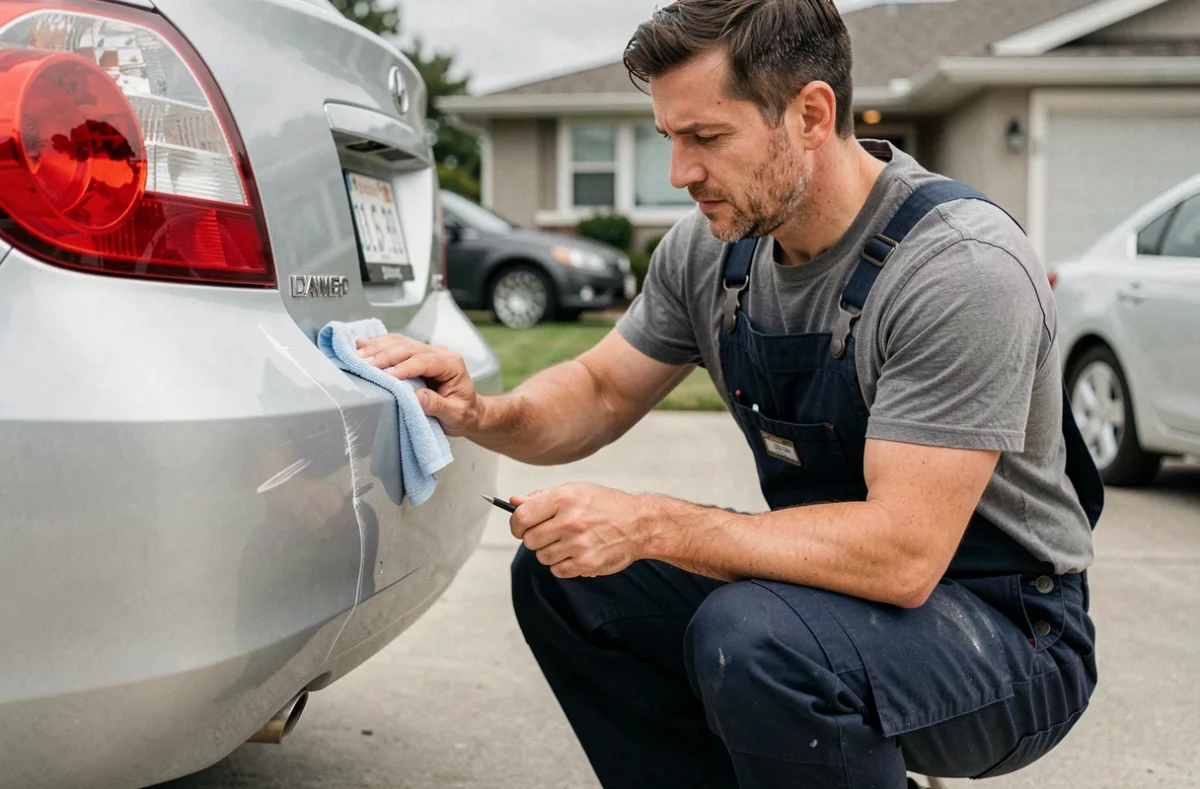
A mark on a plastic bumper isn’t treated the same way as a scratch on a metal door. Plastic absorbs impacts differently, flexes, and its surface (painted or unpainted) calls for different methods. Before reaching for polish or sandpaper, first identify what you’re looking at: a paint transfer, a superficial scuff in the clear coat, or a deep gouge in the plastic itself.
Scratch on a plastic bumper: paint transfer, scuff, or deep gouge
The distinction completely changes the repair method. A paint transfer (from a post, for example, or tire rubber) isn’t a scratch in the bumper: it’s foreign material stuck to the surface.
The fingernail test is a quick way to tell the difference. Run a fingernail across the mark at a right angle: if your nail doesn’t sink in and glides over it without catching, it’s probably a superficial transfer. If your nail catches slightly, the scratch has reached the clear coat. If your nail sinks into a visible groove, the plastic is gouged.
| Type of damage | Fingernail test | Surface affected | Suitable method |
|---|---|---|---|
| Paint transfer | Nail glides over it without catching | Deposit on the clear coat | Degreasing cleaner or cleaning eraser |
| Superficial scratch | Nail catches slightly | Clear coat | Fine-cut polish, followed by buffing |
| Scratch in the paint | Nail catches clearly; a different color is visible | Paint layer beneath the clear coat | Fine sanding, paint touch-up, clear coat |
| Deep gouge | Nail sinks into a groove | Bare plastic | Flexible plastic filler, sanding, full repaint |
A complete guide to removing a scratch from a plastic bumper explains these scenarios and the products suited to each level of damage.
Painted bumper or bare plastic: two surfaces, two approaches
Competitors rarely address this distinction, even though it determines the entire repair process. A painted bumper and bare plastic require different products.
Painted bumper (most modern vehicles)
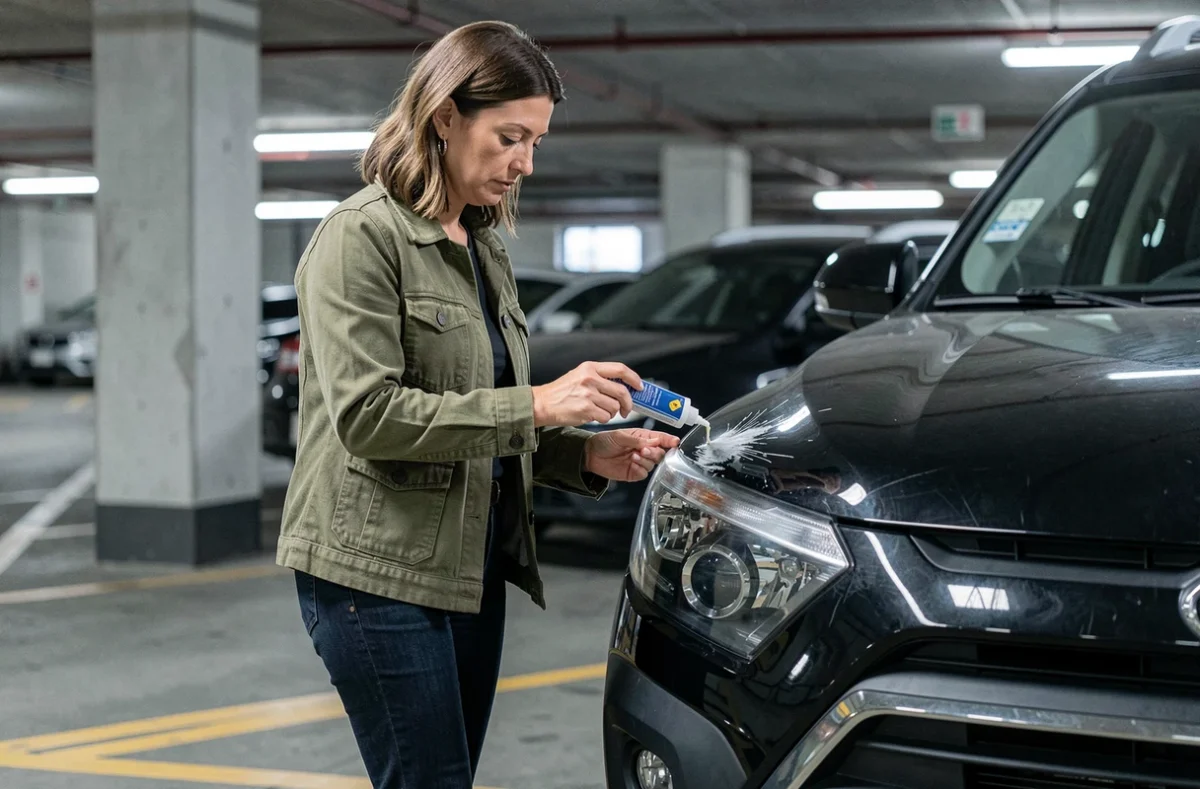
The surface has a primer layer, a coat of paint, and a protective clear coat, just like the rest of the bodywork. A superficial scratch in the clear coat can be corrected by hand or with a dual-action polisher, using a fine-cut compound.
The main risk is cutting through the clear coat. On a bumper, the paint layer is often thinner than on a metal body panel. Work in short passes with light pressure, checking the result after each pass.
Unpainted bare plastic (black bumpers, lower protective trim)
Bare plastic has neither clear coat nor paint. A scuff turns the surface white through microscopic deformation of the polymer. In this case, polish won’t help. An exterior plastic restorer brings back the original color by penetrating and recoloring the surface.
For light scuffs on textured bare plastic, carefully using a heat gun (from a safe distance and in constant motion) can smooth the surface without chemicals. This technique takes practice: excessive heat can permanently deform the plastic.
Polishing a bumper scratch: mistakes that damage the bodywork
Polishing a scratch on a bumper seems simple. Common mistakes rarely come from the polishing motion itself, but from what happens around the area being worked on.
- Failing to protect adjacent areas: rear or front lights, rubber seals, and chrome trim often border the bumper. A polishing pad that touches a polycarbonate light can leave micro-scratches. Mask these areas with automotive masking tape before you start.
- Starting with an abrasive that’s too aggressive: 800-grit sandpaper removes material unnecessarily if the scratch only affects the clear coat. Always start with the least abrasive product (finishing polish) and move to a more abrasive one only if the results aren’t good enough.
- Working on a dirty surface: dust or sand particles under the pad can cause new scratches. Wash and dry the area before starting any work.
- Polishing in direct sunlight: heat makes the product dry too quickly and leads to uneven results. Work in the shade, and make sure the surface is no more than slightly warm.
Paint touch-up on a plastic bumper: products and limitations
When a scratch goes through the clear coat and reaches the paint or plastic, polishing alone is no longer enough. A paint touch-up is needed.
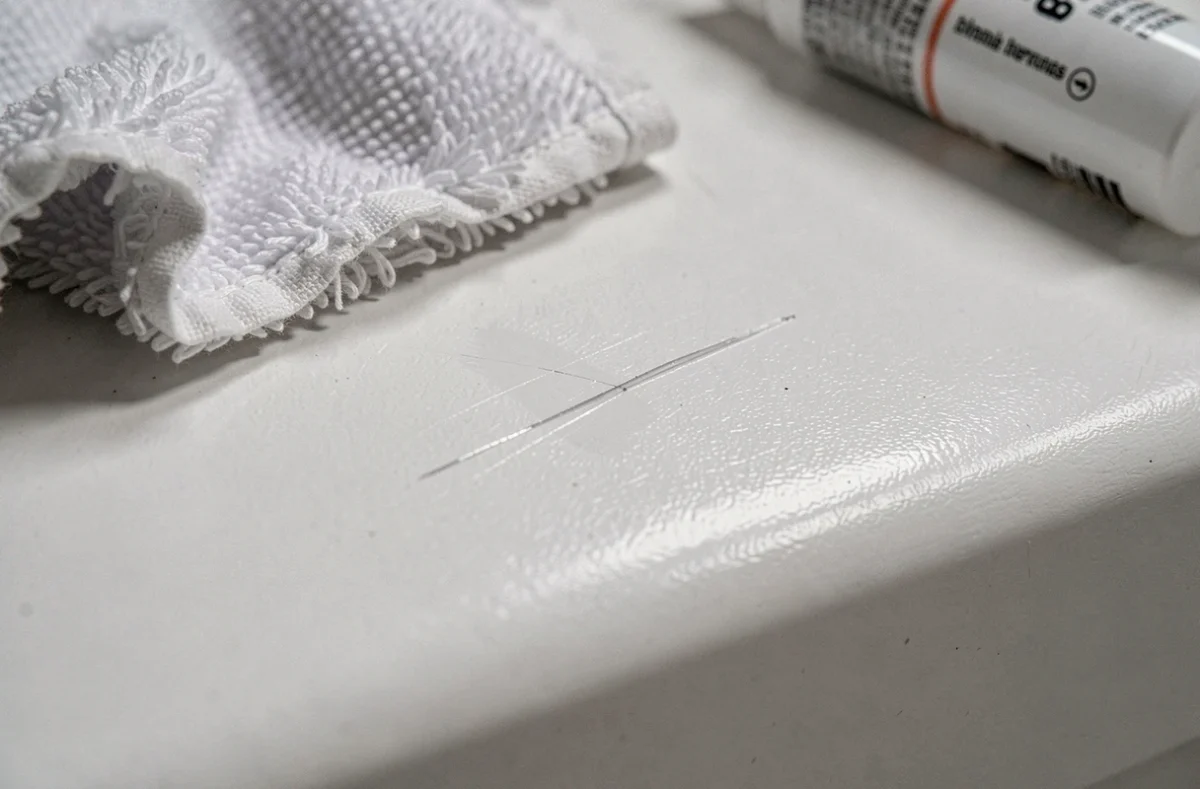
A touch-up pen (sold in the vehicle’s color code) fills the scratch layer by layer. Apply thin coats, letting each one dry before applying the next, rather than one thick coat that could run. Once dry, lightly sand with very fine-grit sandpaper, then use a finishing polish to even out the surface.
The repair will never be invisible in raking light. Paint applied with a touch-up pen won’t have the thickness or evenness of a professional spray finish. For a long scratch or one in a highly visible area (the middle of the front bumper), a body shop is still the only way to achieve a perfect finish.
When flexible filler is needed
A deep gouge in the plastic must be filled before painting. Standard rigid polyester filler can crack on a flexible bumper. Use a filler specifically designed for flexible plastics, formulated to flex with the bumper without coming loose.
Sand the filler in stages, moving from coarse to fine grit, to achieve a perfectly flush surface. Apply a plastic primer before painting to ensure adhesion to the flexible substrate.
This is where the line falls between a DIY repair and taking the vehicle to a body shop. If the scratch runs through the clear coat for more than a few centimeters, or if the plastic is cracked, the time and products required can quickly outweigh the savings from avoiding a professional repair.